 When we bought our fixer upper over the summer I knew the threshold was going to need to be replaced. It’s the first thing you see when you walk in the house and it looked gross! There was also a 3/4 inch gap between the bottom of the door and the top of the threshold so it was getting really drafty now that winter was setting in.
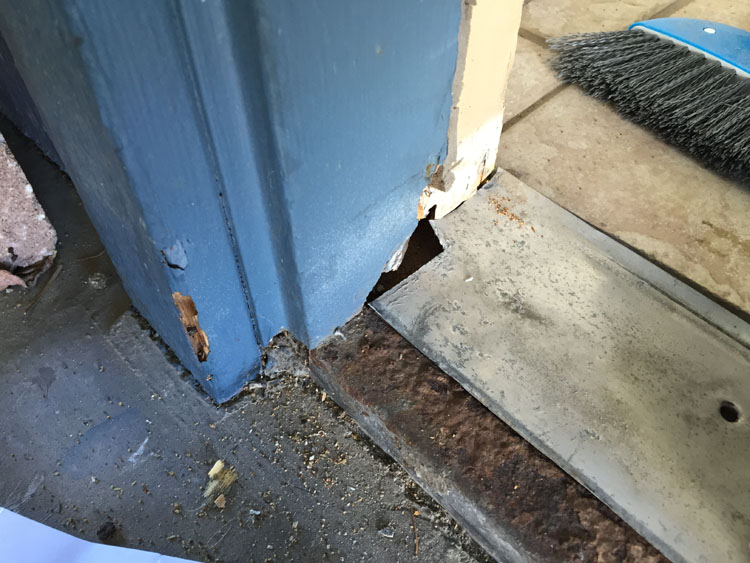 The first thing I did was remove the old threshold. Here you can see how gross it was underneath, not to mention the old termite damage on the door trim. I cleaned up all manner of things including dirt, rust, old tile grout chunks, dog hair and even lentils. Seriously – lentils! I have no idea how those got in there!
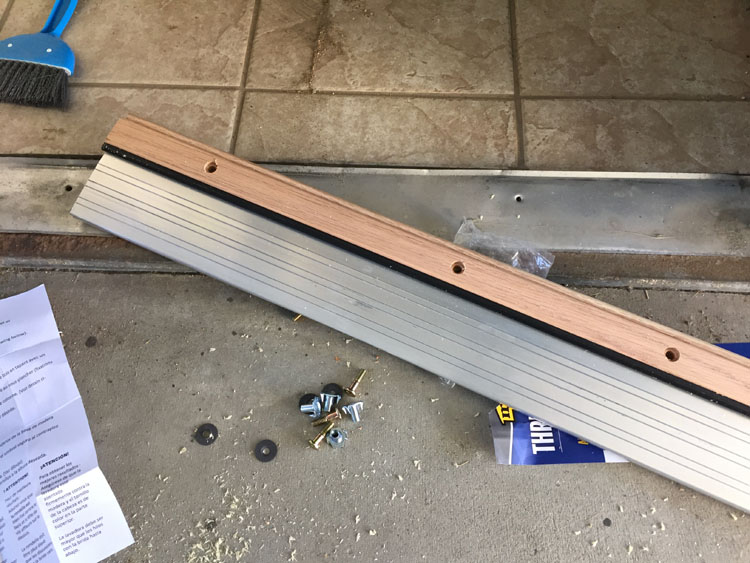 We chose an aluminum and oak threshold for the replacement. It fit perfectly so it didn’t need to be trimmed.
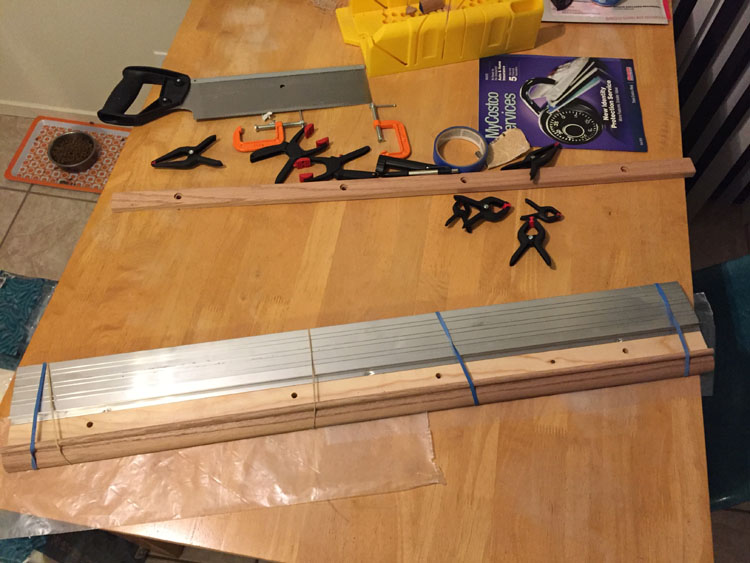
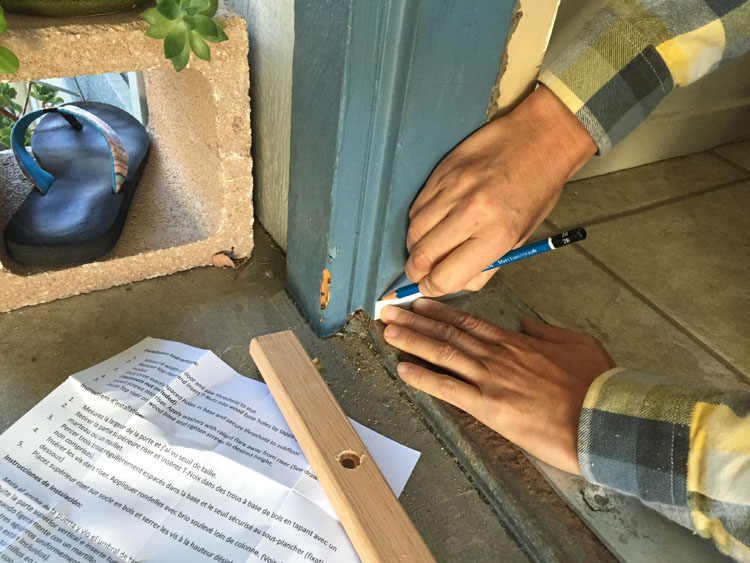 I was going to have to cut the door trim however. First I made a cardboard template by tracing the side profile of the new threshold. I used this to mark my cut line on both sides of the door.
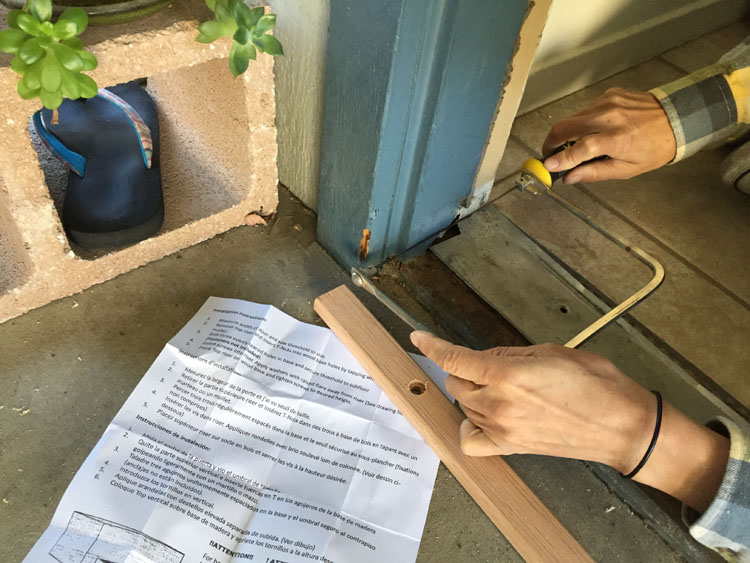 I used a coping saw to cut the door trim.
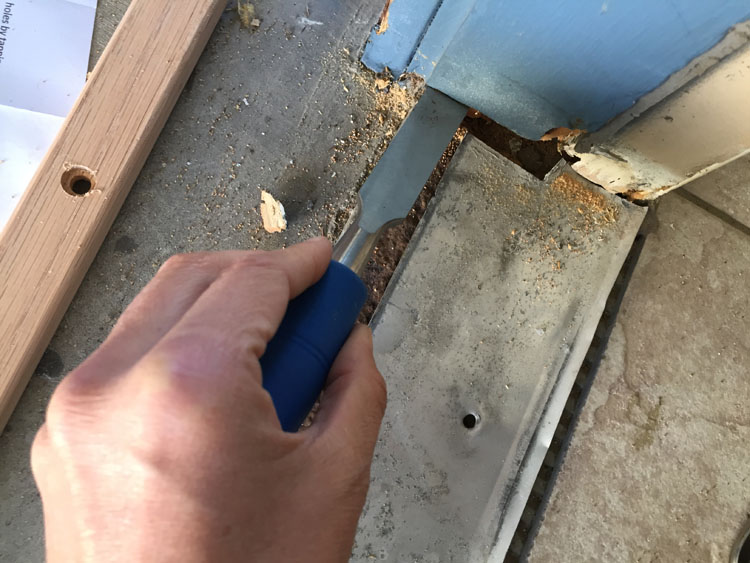 A chisel helped get the last bits of wood out.
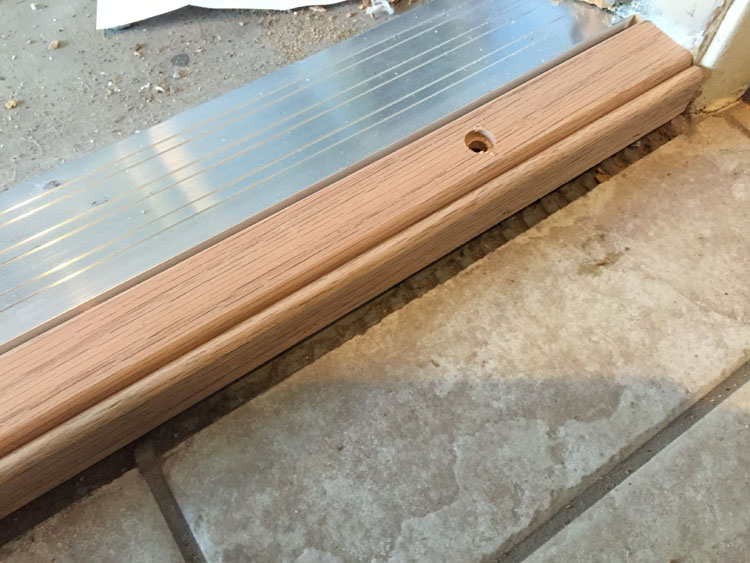 With the new threshold in place I noted a problem! There was a large gap between where the tile ended and where I wanted the new threshold to be placed.
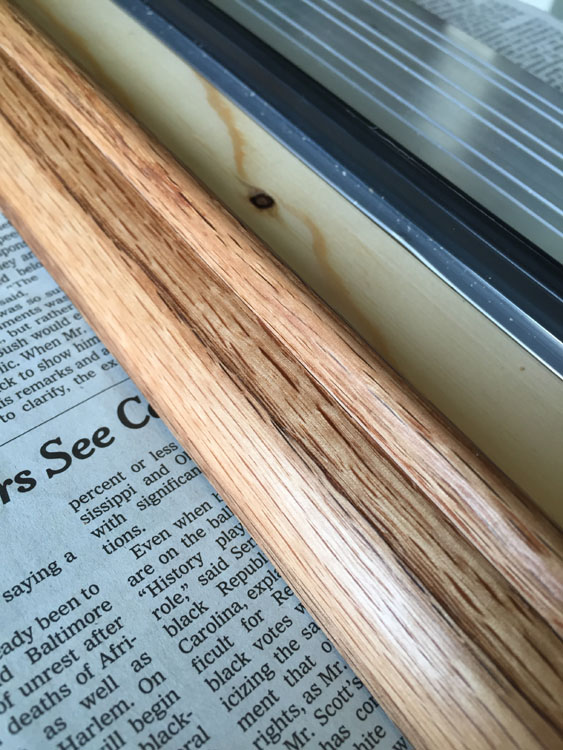
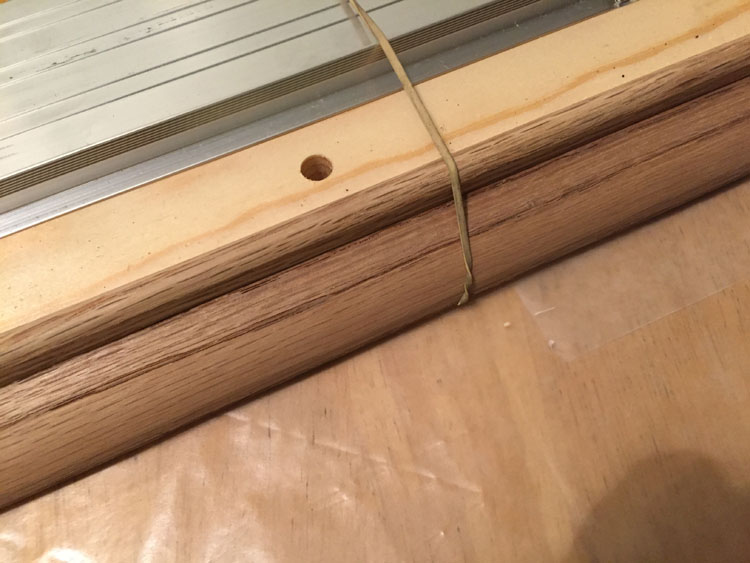 I went back to the hardware store and bought a length of oak quarter round trim. I cut it to length and glued it to the new threshold.
 I tried different clamps to hold it in place while it dried, but they all slipped off the round surface. Rubber bands to the rescue!
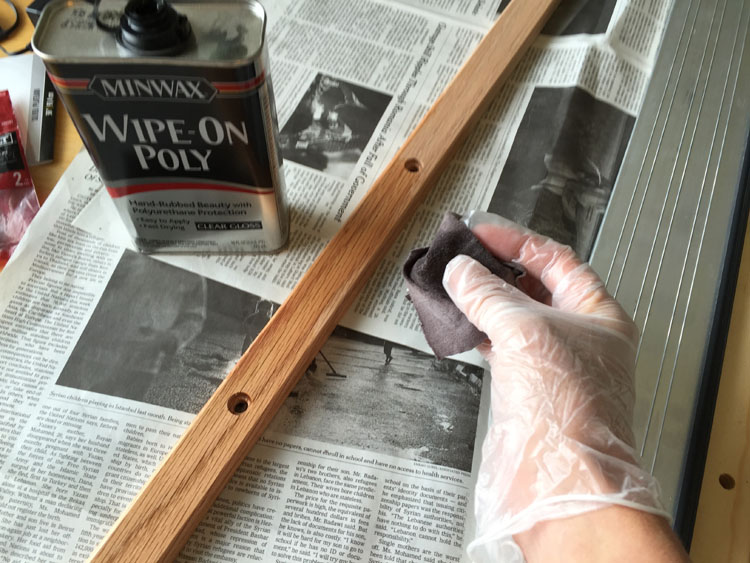 After the glue dried I used a wipe on polyurethane to help protect the wood.
 Looking good!
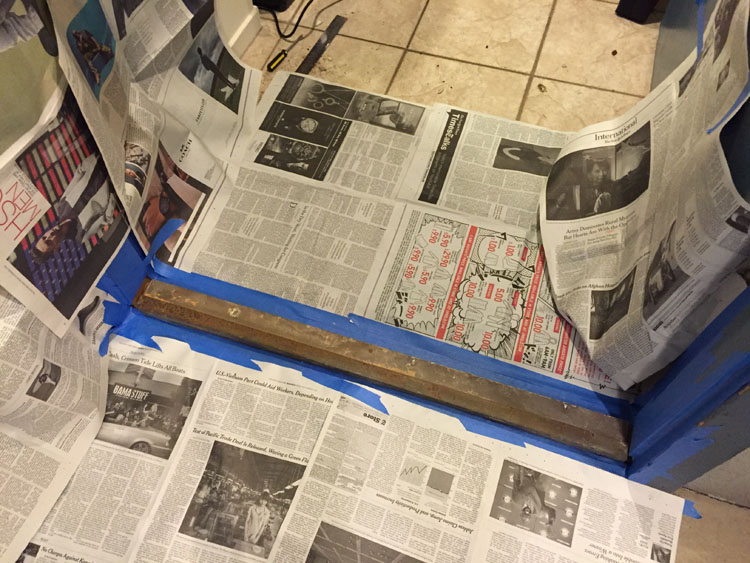 While the polyurethane was drying I cleaned up the rust from underneath the old threshold and masked it off.
 I sprayed it with Rust-Oleum primer for rusty metal.
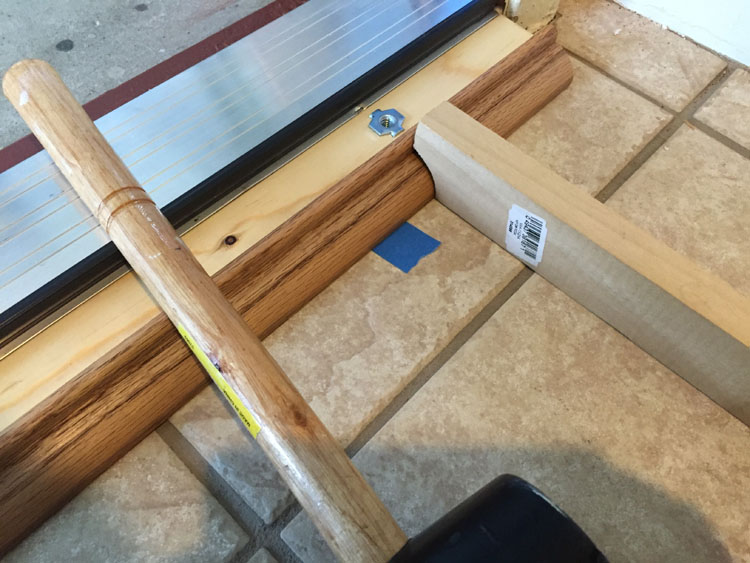 Time to install the new threshold! I cut a piece of scrap wood to use with a rubber mallet to help me tap it into place.
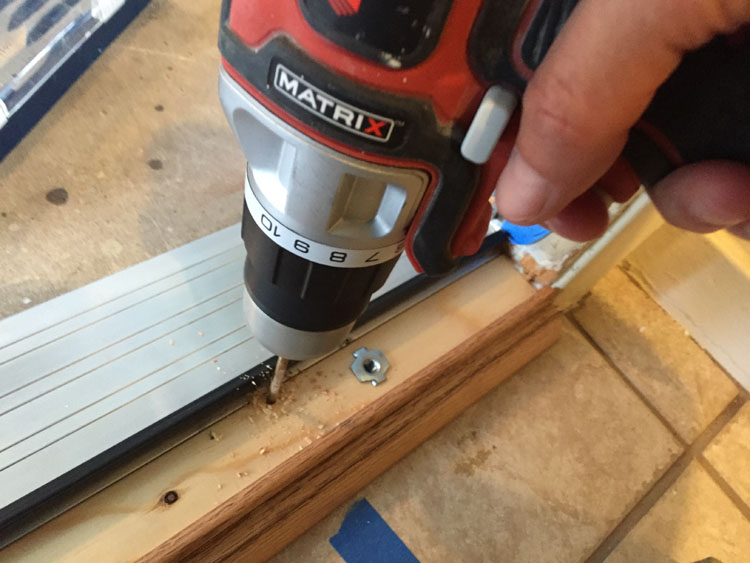 I drilled holes and used 2 1/2″ screws to hold everything in place.
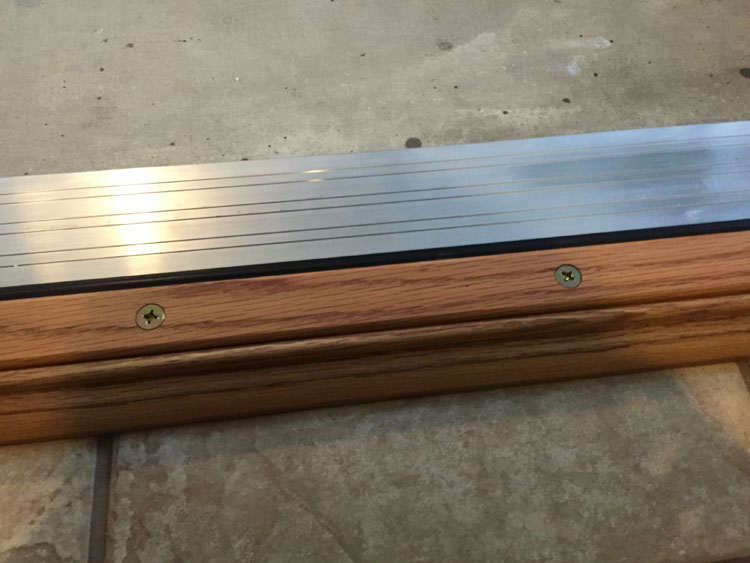 I finished by screwing the top piece of the threshold in place.
 I still have to work on the old door trim, but that’s a project for another day!
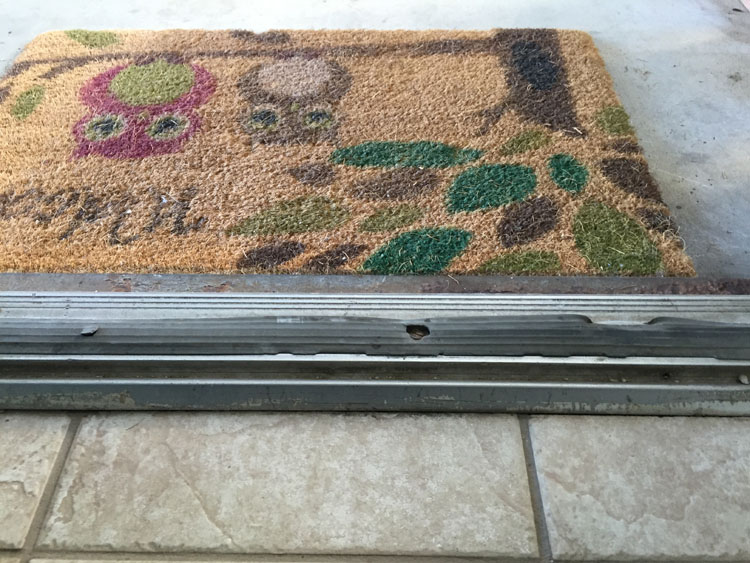
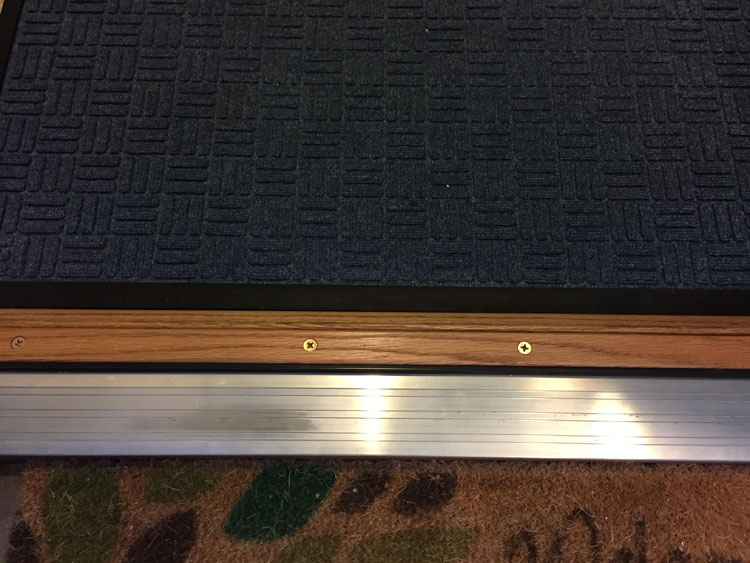 What a difference! I also bought a new doormat to put on the tile since rainy season is approaching. Now the first thing you see when you come in my house is a shiny new threshold!
Threshold Replacement – Do it Yourself
Reply