I have a weird thing about brand new sketchbooks or journals – I get a shiny new one and I’m afraid I’ll mess it up. It then sits in my studio collecting dust until I feel guilty. That’s why I’ve decided to make my own sketchbook! Why not make your own too?
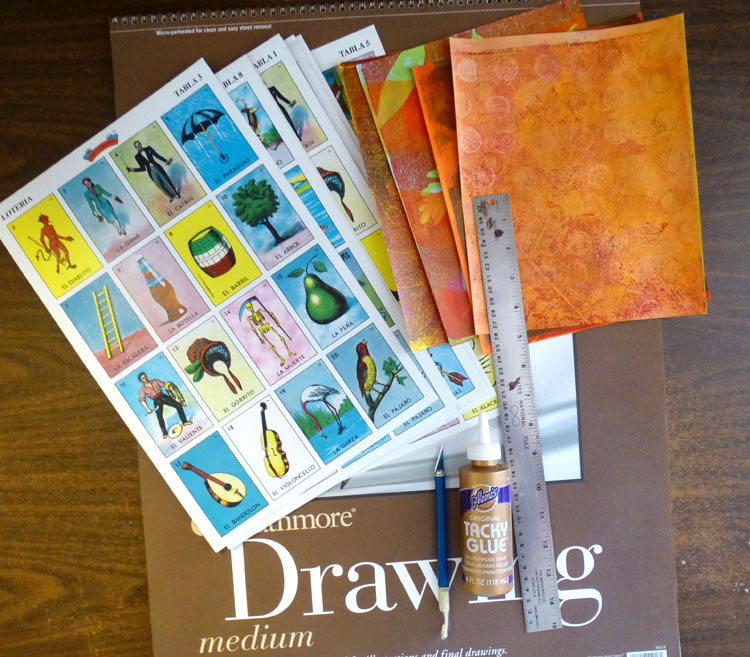
Materials needed: something for the cover – I used Mexican loteria cards, decorative paper for the inside covers – optional, drawing paper for the inside pages, an exacto knife, ruler, glue and a sewing machine.

First trim the cover to your desired size, if you are using decorative paper for the inside trim it to the same size and glue the two together. Trim your inside pages so they are about 1/8 of an inch smaller than the cover. I wanted a simple sketchbook that wasn’t intimidating so I only used four pieces of paper which gives me 16 pages.
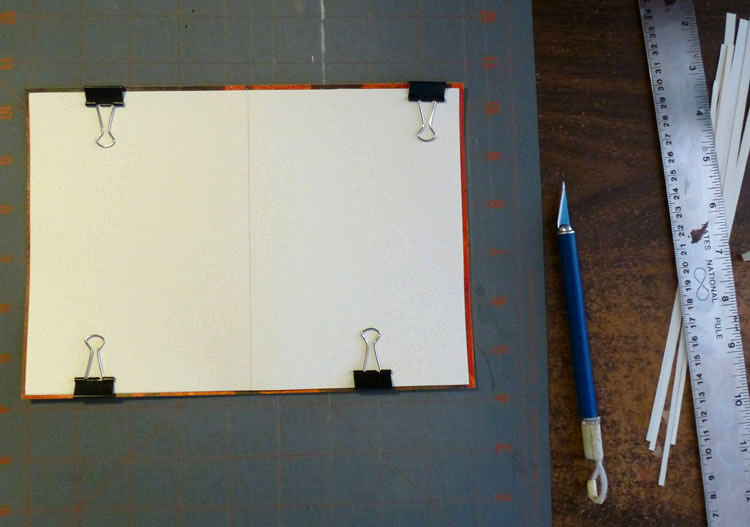
Center and stack the pages on top of the cover; then clamp, paperclip or tape it all together; measure down the middle and draw a line.

Set your thread tension so it’s very light, then carefully sew down the line your drew. Don’t break your needle! This sketchbook was very light so there were no issues.
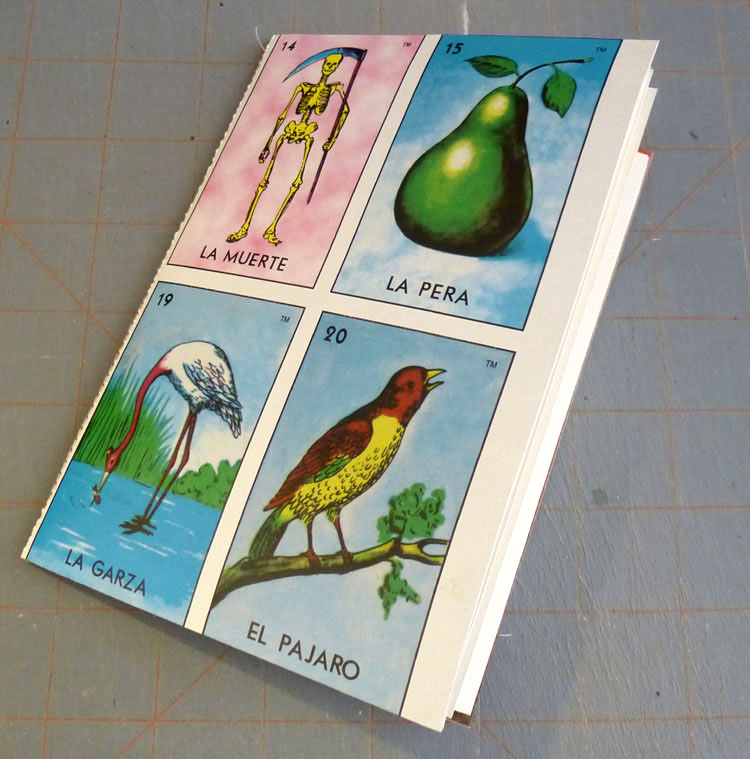
Fold that baby in half and sketch, paint or write with reckless abandon!
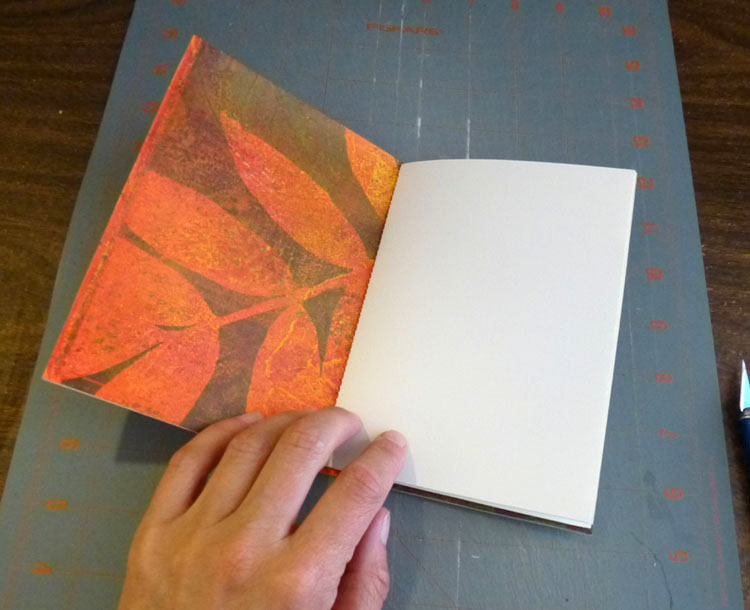
Loteria Sketchbook Journal
Reply